
TL;DR
In this guide, you will learn how to build a RAG(Retrieval-Augmented Generation)-powered e-commerce platform using LangGraph, MongoDB Vector Search, and CopilotKit. The e-commerce platform helps users find products and get tailored product recommendations using LLMs.
Before we jump in, here is what we will cover:
- What is RAG(Retrieval-Augmented Generation )?
- What is MongoDB Atlas Vector Search, and what makes it stand out?
- Implementing RAG using LangGraph and MongoDB Atlas Vector Search
- Building a frontend UI to query the RAG-powered e-commerce AI agent using MongoDB LeafyGreen Design System and CopilotKit.
Here’s a preview of the application we’ll be building.
What is RAG (Retrieval-Augmented Generation)?
Imagine you’re using a language model (like ChatGPT) to answer questions. These models are trained on massive datasets and can generate human-like text, but they have limitations:
- Limited Knowledge: They only know what’s in their training data, which might be outdated or incomplete.
- Hallucination: Sometimes, they make up answers that sound convincing but are wrong because they don’t have the right information.
- Context-Specific Answers: If you ask about something very specific (like internal company docs or recent news), the model might not have that info.
That is where RAG comes in.
It solves these problems by giving the model access to external information (like a database, documents, or web pages).
Instead of the AI guessing answers based on what it remembers, it can look for the right information and then explain it in a way that makes sense.
You can learn more about Retrieval-Augmented Generation (RAG) here.
.png)
What is MongoDB Atlas Vector Search, and what makes it stand out?
MongoDB Atlas Vector Search is a platform used to create vector indexes and perform vector searches, including approximate nearest neighbor (ANN) and exact nearest neighbor (ENN) searches, on vector embeddings representing data such as text, images, or audio.
This enables applications to retrieve results based on contextual similarity rather than exact keyword matches, making it useful for AI-driven applications like recommendation systems, chatbots, and image recognition.
Here is what makes MongoDB Atlas Vector Search stand out from the rest:
- Native Integration: Atlas Vector Search is built into MongoDB, which means there is no need to sync data between your operational database and vector database, hence saving time, reducing complexity, and preventing errors.
- Powerful query capabilities: Atlas Vector Search allows you to easily combine vector queries with filters on meta-data, graph lookups, aggregation pipelines, geo-spatial search, and lexical search for powerful hybrid search use cases within a single database.
- Scalability and Performance: Unlike other solutions, MongoDB’s distributed architecture scales vector search independently from the core database. This enables workload isolation and optimization for vector queries, resulting in superior performance at scale.
- Enterprise-Grade Security: Atlas Vector Search inherits MongoDB Atlas’s robust security features, including encryption, high availability, and compliance with industry standards, which makes it suitable for sensitive and regulated workloads.
You can learn more about MongoDB Atlas Vector Search here.
.png)
Prerequisites
To fully understand this tutorial, you need to have a basic understanding of React or Next.js.
We'll also make use of the following:
- Python - a popular programming language for building AI agents with LangGraph—make sure it is installed on your computer.
- LangGraph - a framework for creating and deploying AI agents. It also helps to define the control flows and actions to be performed by the agent.
- OpenAI API Key - to enable us to perform various tasks using the GPT models; for this tutorial, ensure you have access to the GPT-4 model.
- MongoDB Atlas Vector Search - a platform used to create vector indexes and perform vector search, including semantic search and hybrid search, on your vector embeddings
- LeafyGreen Design System - MongoDB’s open-source design system for building intuitive, and beautiful UI
- CopilotKit - an open-source copilot framework for building custom AI chatbots, in-app AI agents, and text areas.
Implementing RAG using LangGraph and MongoDB Atlas Vector Search
In this section, you will learn how to build and run a RAG-powered e-commerce AI agent using LangGraph, MongoDB Atlas Vector Search, and OpenAI LLMs.
After that, you will learn how to deploy the e-commerce AI agent to a cloud application platform known as Render.
Before we get started, let us talk about how RAG is implemented using MongoDB Atlas Vector Search.
First, you store your custom data as vector embeddings in a vector database such as MongoDB Atlas.
Then retrieve semantically similar data based on the user’s query using a search solution such as MongoDB Atlas Vector Search.
Finally, feed your LLM with the retrieved data as context to generate a more accurate and relevant response, reducing hallucinations.
Here is a diagram that explains RAG implementation using MongoDB better.
.png)
You can also learn more about implementing RAG with Atlas Vector Search on MongoDB docs.
.png)
Now that you have a clear idea of how RAG is implemented using MongoDB, let us jump into building the RAG-powered e-commerce AI agent.
Step 1: Building the RAG-powered e-commerce AI agent
First, start by cloning the ecommerce-rag-agent repository, which contains code for a Python-based LangGraph agent:
The repository contains a RAG-powered e-commerce AI agent with the following structure:
.png)
Next, create a .env file in the ecommerce-rag-agent folder. Then add OpenAI, LangSmith, and MongoDB Atlas credentials into the environment variables
Then install all packages and dependencies using Poetry.
Once all packages and dependencies have been installed, let us now see how to run the RAG-powered e-commerce AI agent.
Step 2: Running and testing the RAG-powered e-commerce AI agent
To run the e-commerce AI agent, execute the following command in the command line.
Once the AI agent has started, it will open in the browser on the LangGraph studio, and you can visualize it, as shown below.
.png)
To test the e-commerce AI agent, add the “Find me a good laptop for programming under $1500” query to the messages state variable and click the Submit button.
.png)
The e-commerce AI agent will start searching for programming laptops under $1500. Once done, the agent will provide tailored recommendations, as shown below.
.png)
Now that you have learned how to run and test the e-commerce AI agent, let us see how to deploy it.
Step 3: Deploying the RAG-powered e-commerce AI agent
To deploy the e-commerce AI agent, push the AI agent code to a GitHub repository, as shown below.
.png)
After that, sign up to Render.com and select Web Services as your resource type on your Render dashboard.
.png)
Then connect GitHub as your Git provider to deploy the e-commerce AI agent repository.
.png)
Next, select the e-commerce AI agent repository and add a unique name for the web service, as shown below.
.png)
Then scroll down to add “poetry run demo” as the start command and select the instance type, as shown below.
.png)
Finally, add all the environment variables you added in the .env file, and click the Deploy Web Service button, as shown below.
.png)
Once the AI agent has been deployed, grab its URL. The URL will be used to register the e-commerce agent with Copilot Cloud.
.png)
Now that we have learned how to build, run, and deploy the e-commerce AI agent, let’s see how we can add a frontend UI to chat with it.
Building a Frontend UI to Query the RAG-powered E-commerce AI Agent
In this section, you will learn how to build a frontend UI to query the RAG-powered e-commerce AI agent using Copilot Cloud and CopilotKit.
Let’s get started.
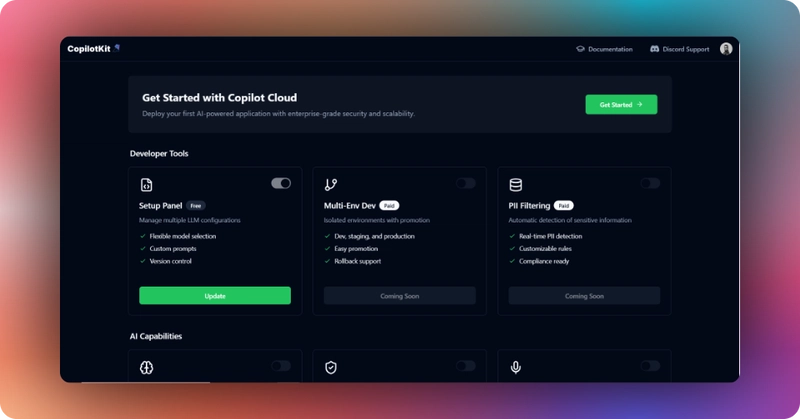
Step 1: Registering the RAG-powered e-commerce AI agent with Copilot Cloud
To register the RAG-powered e-commerce AI agent, go to Copilot Cloud, sign in, and click the Get Started button.
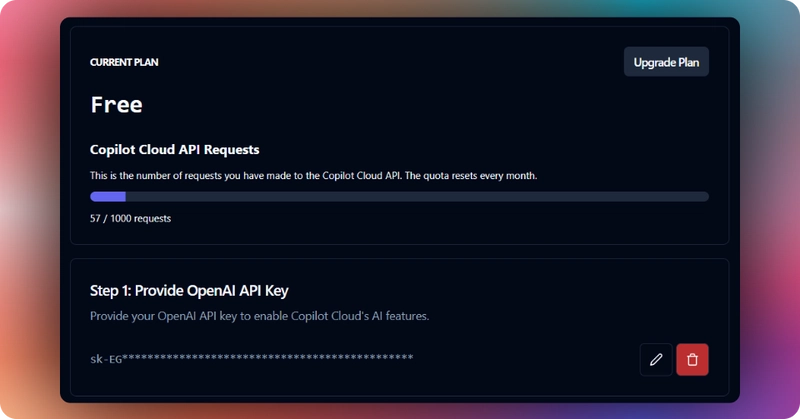
Then add your OpenAI API key to the "Provide OpenAI API Key" section, as shown below.
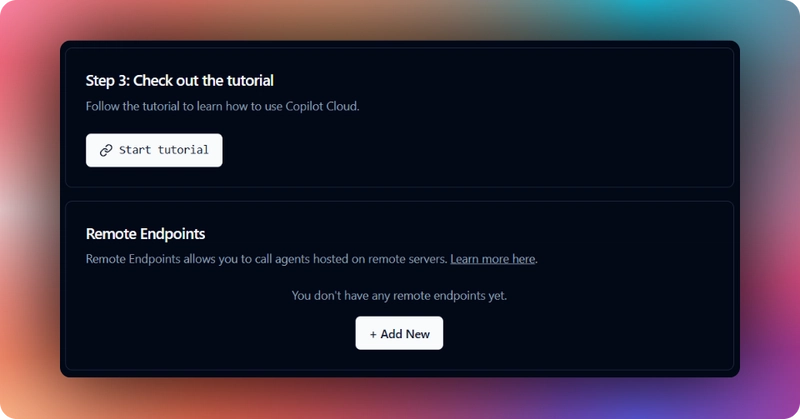
Next, scroll down to the remote endpoints section and click the Add New button.
Then select the remote endpoint from the modal that pops up. After that, add your AI agent endpoint URL from Render.com and click the Save Endpoint button, as shown below.
.png)
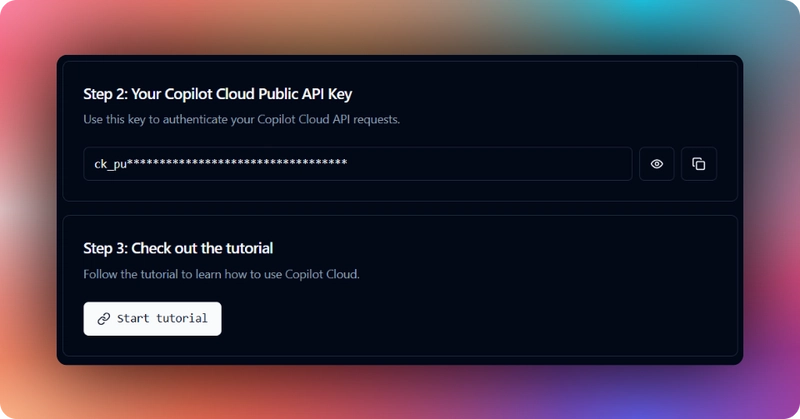
Once the AI agent endpoint is saved, copy the Copilot Cloud Public API Key, as shown below.
Step 2: Adding the RAG-powered e-commerce AI agent UI
To build the e-commerce AI agent UI, start by cloning the e-commerce AI agent UI repository, which contains code for a Next.js project:
Next, create a .env file in the root directory. Then add your Copilot Cloud Public API Key into the environment variables.
After that, install the frontend dependencies using pnpm.
Then start the app using the command below.
Navigate to http://localhost:3000/ and you should see the e-commerce AI agent frontend up and running.
.png)
Let’s now see how to build the frontend UI for the e-commerce AI agent using CopilotKit.
Step 2: Setup CopilotKit Provider
To set up the CopilotKit Provider, the <CopilotKit> component should wrap the Copilot-aware parts of your application. For most use cases, it's appropriate to wrap the CopilotKit provider around the entire app, e.g., in your layout.tsx, as shown below in the app/layout.tsx file
Step 3: Choose a Copilot UI
To set up your Copilot UI, first import the default styles in your root component (typically layout.tsx).
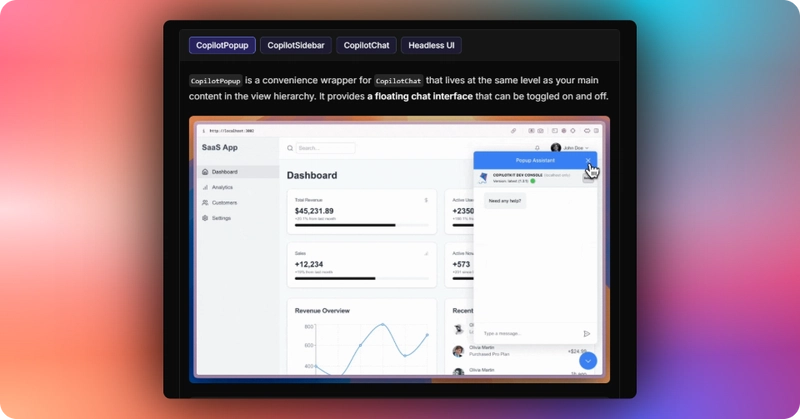
Copilot UI ships with a number of built-in UI patterns; choose whichever one you like from CopilotPopup, CopilotSidebar, CopilotChat, to Headless UI.
In this case, we will use Copilot Sidebar as shown in the app/page.tsx file.
The sidebar is then rendered on the frontend UI, as shown below.
.png)
Step 4: Creating a shared state between the UI and the RAG-poered e-commerce AI agent
In CopilotKit, AI agents maintain a shared state that seamlessly connects your UI with the agent's execution. This shared state system allows you to:
- Display the agent's current progress and intermediate results
- Update the agent's state through UI interactions
- React to state changes in real-time across your application
You can learn more about CoAgents’ shared state on CopilotKit docs.

To create a shared state between the frontend UI and the RAG-powered e-commerce AI agent, first, you need to define the agent state and emit it to the front end, as shown in the ecommerce_agent/agent.py file.
Then use the CopilotKit useCoAgent hook to share the RAG-powered e-commerce AI agent state with your frontend UI, as shown in the app/page.tsx file
Next, render the agent's state in the sidebar UI. This is useful for informing the user about the agent's state in a more in-context way. To do this, you can use the useCoAgentStateRender hook, as shown in the app/page.tsx file.
Then navigate to http://localhost:3000/, add “Find me a good laptop for programming under $1500” to the sidebar chat, and press “Enter.” You should see the RAG-powered e-commerce AI agent state rendered in the chat UI and tailored product recommendations, as shown below.
Congratulations! You have successfully built a RAG-powered e-commerce platform using LangGraph, MongoDB Vector Search, and CopilotKit.
Conclusion
In this guide, we have walked through the steps of building a RAG-powered e-commerce platform using LangGraph, MongoDB Atlas Vector Search, and CopilotKit.
While we’ve explored a couple of features, we have barely scratched the surface of the countless use cases for CopilotKit, ranging from building interactive AI chatbots to building agentic solutions—in essence, CopilotKit lets you add a ton of useful AI capabilities to your products in minutes.
Hopefully, this guide makes it easier for you to integrate AI-powered Copilots into your existing application.
Follow CopilotKit on Twitter and say hi, and if you'd like to build something cool, join the Discord community.
Get notified of the latest news and updates.

.png)
%20Using%20A2A%20%2B%20AG-UI%20(8).png)
.png)
